
 This year was the second time I traveled with my Goldwing and I was not on it. The first time was two years ago when I hauled it to Hollister, Ca, to the Corbine Saddle factory, a trip that I later accomplished on the Wing.
This year I shared a ride with another biker who was pulling an empty enclosed U-Haul trailer. He was making a round trip to bring furniture from Ohio to Tucson. I was planning on riding to Cleveland, Ohio and thought that it would be good to share the drive with a friend.
The challenge with using this trailer is that the trailer is not designed to provide tie-downs for anything of significant weight. The small D-rings that are there were not suitable to steady a motorcycle.
The solution that I implemented cost me some money and time but it proved to be sufficient. I would like to share what I did with everyone… it may prove beneficial at some point if you too would like to utilize such a trailer.
In my efforts to document this porject, feel free to contact me; I most certainly will leave out something or not effectively state some aspect of this project.
The items I purchased or otherwise acquired are as follows. Note that substitutions may prove to be more of less effective!
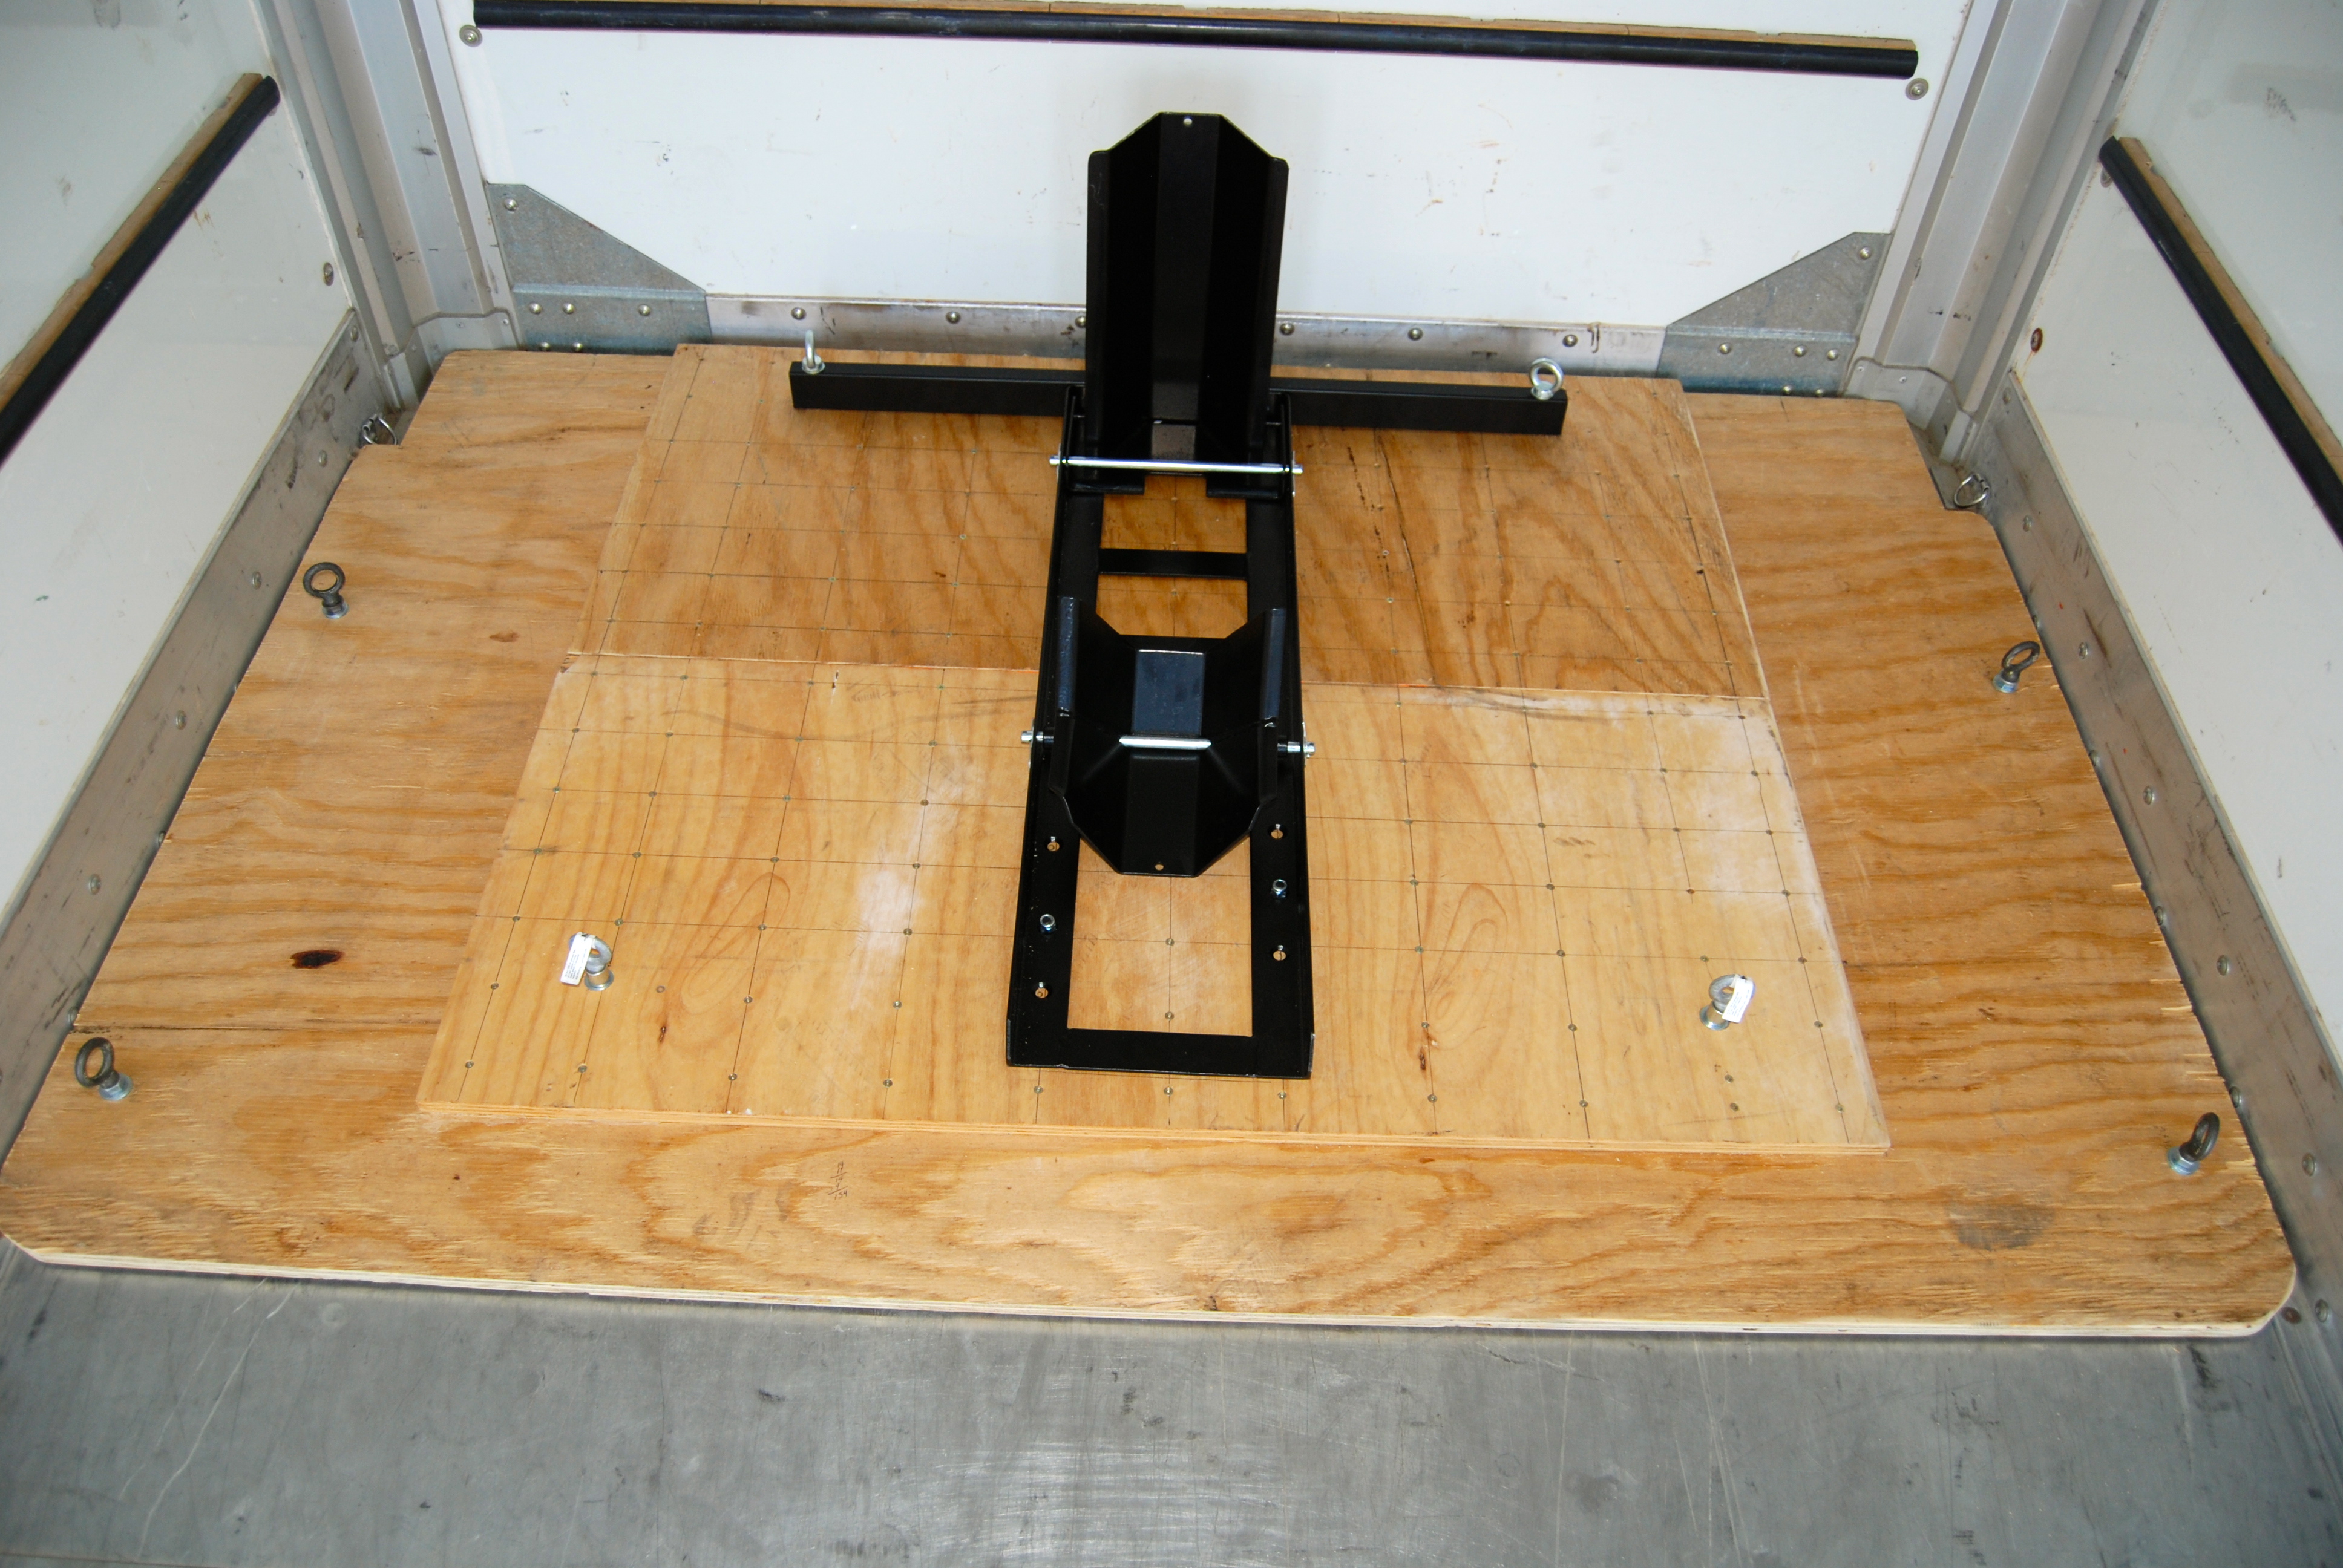
- Wheel chock (There are many on the market at various prices. I chose this one for its sturdiness and its “automatic” engagement ability that reduces the need for a second person.
- 3/4″ ply wood
- Deck screws
- Liquid nail
- Bolts
- Screws (for the rail)
- Self-locking nuts (for the fail)
- Blind Nuts
- Spacers
- Washers
- Eye-bolts (ensure that you used forged apposed to the bent steel)
- Tie-down straps (Ratchet Type required in most positions) Use as many tie down straps as you have U-Haul “D-Rings” available.
The tools required to do the job are:
- Tape measure
- Circular saw (a table saw was also used to reduce the 4×8*)
- Drill
- Bits for the drill
- “C”-clamps (several if you have them)
- Ratchet
- Wrenches
- Gun for the liquid nail
- Gloves and eye protection
- Two saw-horses and a workbench will come in handy
Visit your local U-Haul dealer and take inventory of the you trailer you intend to use. All trailers may not be designed the same; visit enough trailers (maybe even different locations) to verify your chances of getting the same type that you will eventually rent.
- Take critical measurements
- The width of the trailer (perform this measurement at the floor level or you will cut you wood too wide.) The board should fit snugly. There should be minimal ability for the board to slide side to side.
- The length (front to back of the trailer) is not critical for this build, but do ensure that your bike and any other items that you want to carry will fit.
- The advantages of the chock that I chose is in its wide footprint and structural design and fitness to resist the leverage forces in all directions.
- The plywood should be sandwiched together using the liquid nail and the deck screws. I made a 4″ grid and placed a screw every 4″. I then flipped the board and created another grid of 4″ being careful to offset it from the first. This may be overkill but I did not want to see my bike laid over. Using C-clamps came in hand during this process. Notice in the photo that I used 3 pieces of plywood, this was because I used available wood. The same result can be accomplished with 2 pieces.
- I used two blind nuts for each eye-bolt. This was accomplished by determining the position of the bolts and drilling (prior to gluing and fastening the boards together). After drilling, separate the boards and place a blind-nut in each hole on the bottom of the upper board. My thinking was that this would provide more grip-length, and distribute the load better and reduce the ability for the eye-bolts to be bent sideways. The same result may be achieved by using a spacer through the top board and a washer at the top of the threads of the eye-bolt!
- Choosing eye-bolt location: Although I successfully transported using the method pictured and that I am describing, I’ve had 2nd thoughts about the placement of the eye-bolts around the periphery of the board. I suggest moving the eye-bolt location 6 or more inches inboard on all location. This will provide the greater distance between the trailer d-rings and provide the needed space for the strap cranks (which I had problems achieving).
- Whichever you choose, afterward glue and fasten the plywood together.
- Observe the photos provided below and enjoy building.
- Securely strapping the bike to the board will prevent the bike from falling over.
- Use the most aft rings to:
- Force the bike forward into the chock
- Prevent sideways movement of the rear wheel
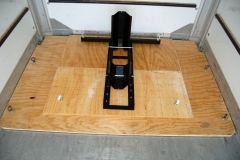
U-Haul trailer modification to carry motorcycle photos.
10 Photos